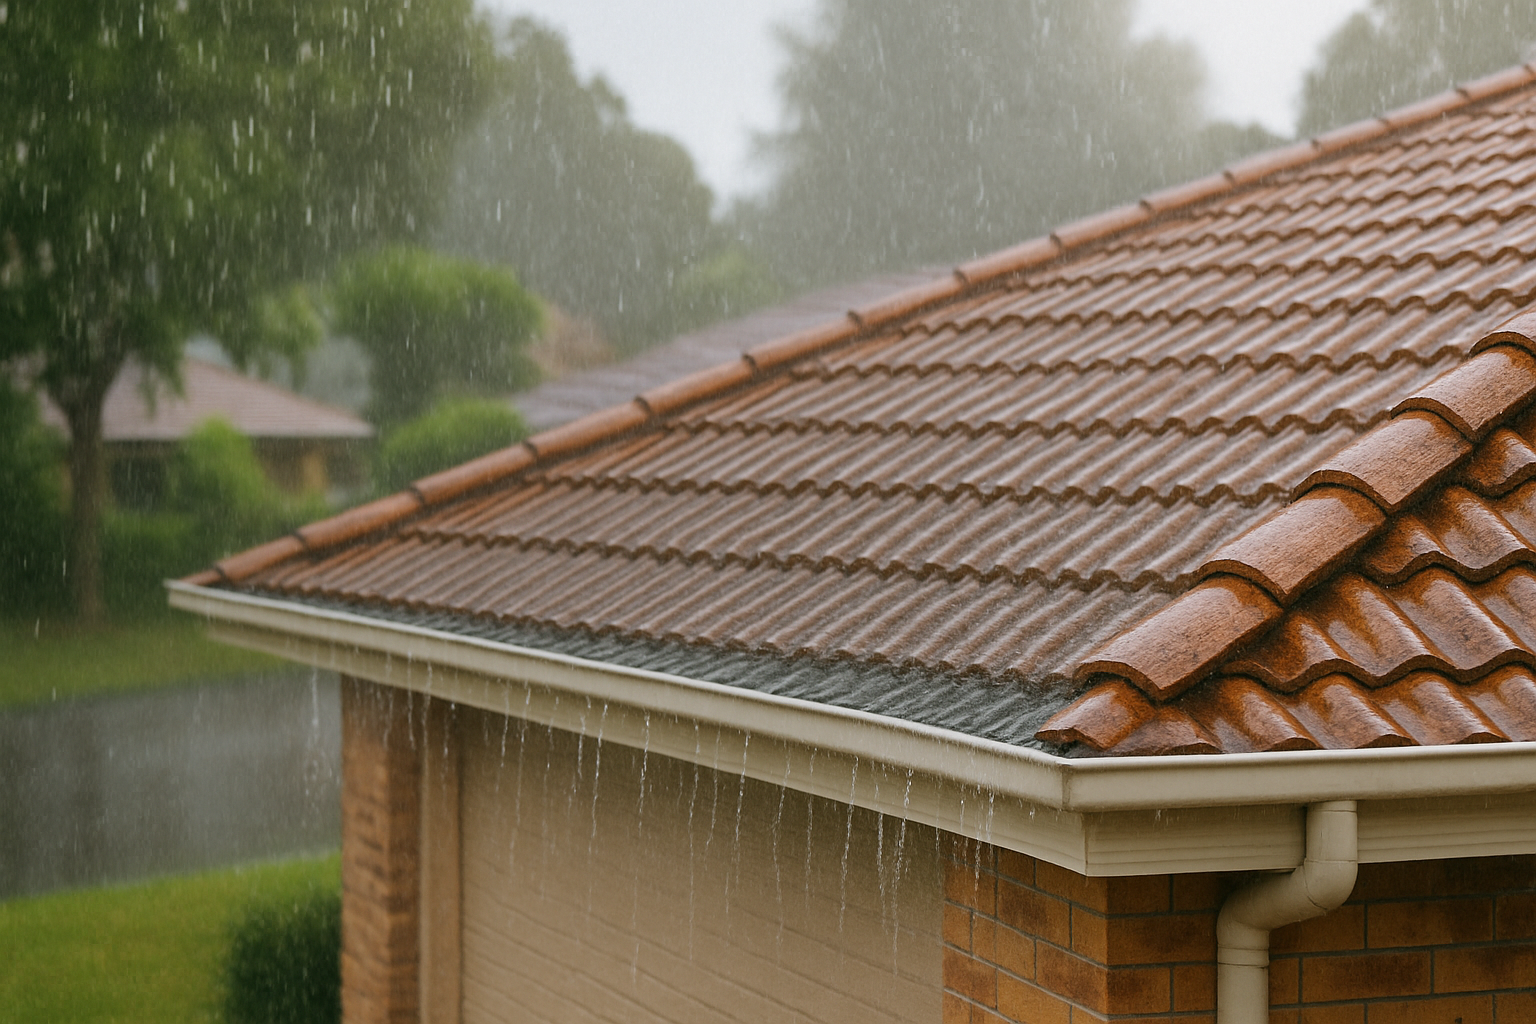
Has your tile roof seen better days? Those missing and cracked tiles are letting the rain in and driving you mad. Don’t rip it all off just yet, there’s an easier solution. Learn how to identify and fix the most common tile roof problems to restore your roof to its former glory. We’ll guide you through assessing the damage, sourcing replacement tiles and making repairs so you can fix those leaks yourself, or get professional help. With a few simple tools and our step-by-step instructions, you can tackle cracked, slipped and missing tiles to stop the waterworks and restore the charm of your tiled roof. Keep reading for handy hints to diagnose and repair tile roof issues without breaking the bank.
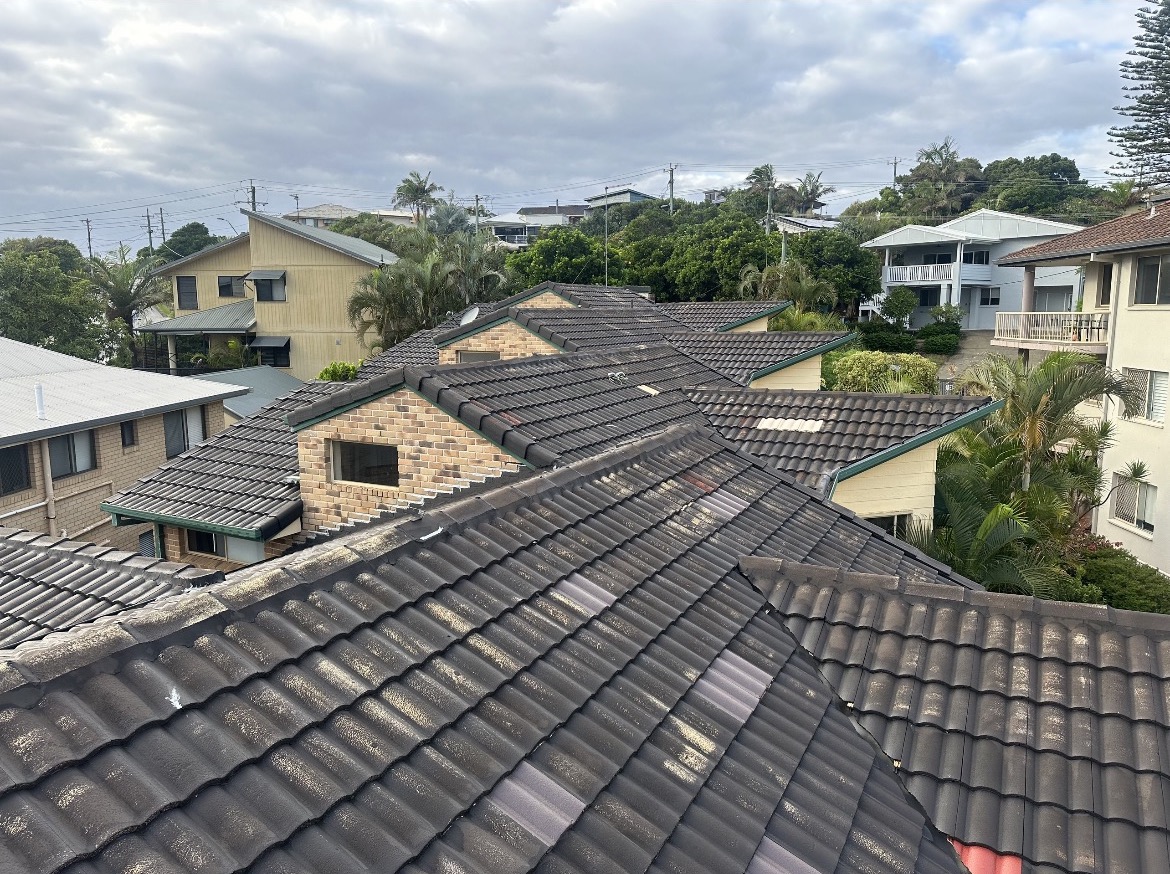
Common Tile Roof Problems to Watch Out For
Have you noticed small cracks appearing in your tile roof or water stains on the ceiling inside? Unfortunately, tile roofs can develop issues over time that need to be addressed. Here are some common problems to keep an eye on:
- Cracks and chips in the tiles are one of the most frequent problems. Whether from weather exposure, falling debris, or structural movement, cracks allow water to seep in and should be repaired quickly.
- Slipping or loose tiles are also common, caused by damaged or corroded nails or tile spacers that no longer grip properly. Loose tiles are prone to falling off completely, so secure them as soon as possible.
- White, powdery stains on the tiles indicate water damage and mineral buildup. This often happens around vents, skylights or the chimney where water collects. Scrub off stains and re-seal any cracks to prevent further damage.
- Leaks coming from under the tiles usually indicate an issue with the underlayment, flashing or vents. Water can travel along the roof before dripping into the home, so be sure to inspect this.
If you notice any of these problems with your tile roof, it’s best to have a professional evaluate the damage. Roof restoration experts can repair or replace damaged tiles, re-secure loose sections, seal up cracks and leaks, and ensure your roof is watertight again. A well-maintained tile roof can last for decades, so catch any issues early and keep your home protected from the elements.
Cracked and Broken Tiles – When to Repair or Replace
If you’ve got cracked or broken tiles on your roof, you’ll need to decide whether to repair or replace them. Minor cracks can often be repaired, saving you time and money. However, more severe damage usually requires replacement to prevent leaks and ensure the structural integrity of your roof.
- For small cracks (less than 3 inches long and not deep), you can apply an epoxy resin or tile adhesive. Clean the area, fill the crack, then wipe away any excess with a damp cloth. This quick fix seals and waterproofs the tile.
- Larger cracks (over 3 inches) or tiles broken into multiple pieces should be replaced. Trying to repair extensive damage may not hold up long-term and risks cracks reappearing or new leaks forming. It’s best to replace the entire tile.
- If several tiles in an area are damaged, it may indicate underlying issues with your roof that require professional evaluation. In some cases, partial or complete roof restoration could be needed to address structural problems.
When in doubt, call a professional roofing contractor to inspect your tiles and recommend appropriate solutions. They have the expertise to determine if repairs or replacement are best based on the type of tile and extent of damage. A small investment now can save you from expensive emergency repairs down the road!
Regular inspections and maintenance help prevent minor issues from becoming major headaches. Take a walk around your roof at least once a season to catch any damaged or loose tiles early on. Your roof provides shelter and protects your home, so give it the care and attention it deserves.
Preventing Leaks – Sealants, Coatings and Flashing
Sealants and Coatings
Liquid sealants, coatings and roof cement can be applied to seal and repair cracks, holes, and seams in tile roofs to prevent leaks. Elastomeric sealants, in particular, provide durable, flexible and long-lasting protection. They can withstand extreme weather conditions and won’t crack or peel. You’ll want to clean and prepare the area, then apply 2-3 coats of the sealant, waiting for each coat to dry in between applications.
Flashings
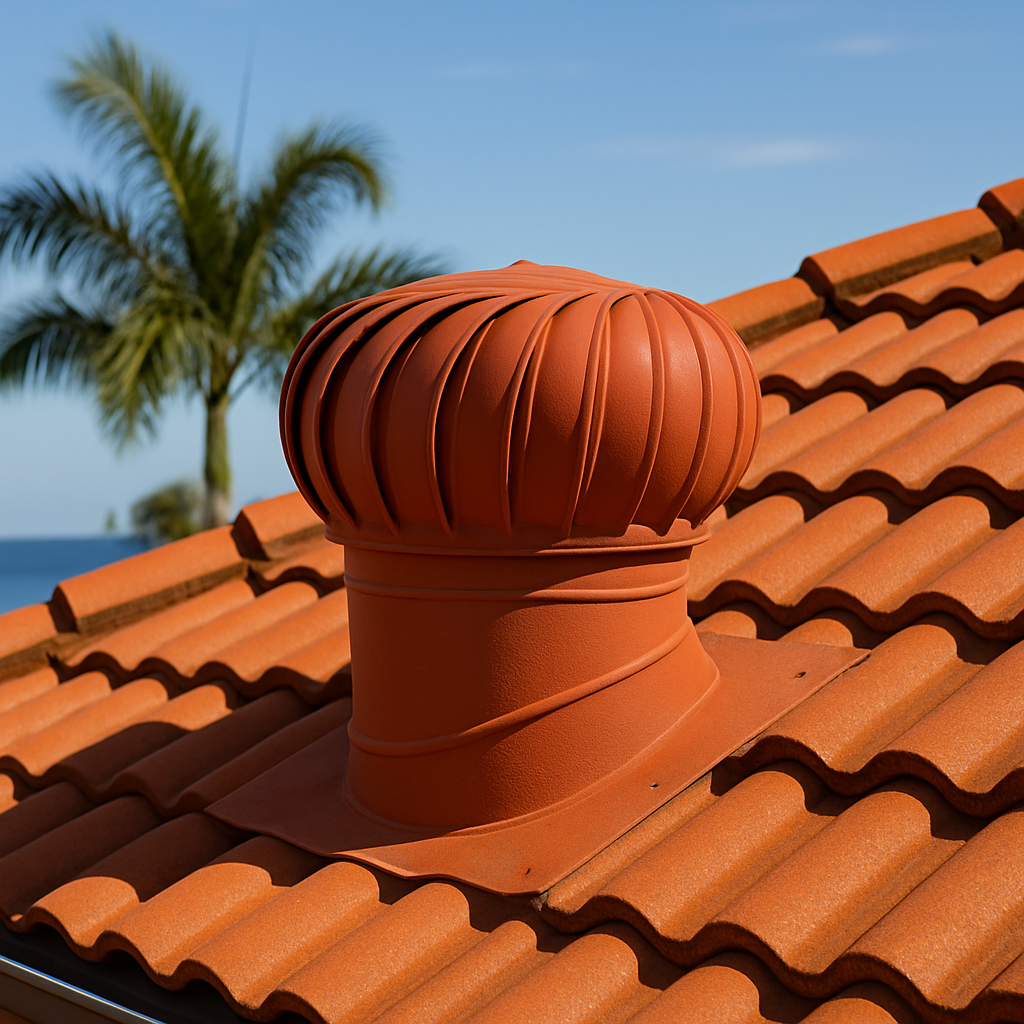
Flashings are installed in valleys, around skylights or vents, or anywhere two roof planes join together. As the most vulnerable spots for leaks, proper flashing is essential. Flashings come in a variety of styles – base, cap, valley, pipe or vent pipe flashings. They should be made of a durable, weather-resistant material like copper, aluminium or stainless steel.
For the best protection, consider having a professional roofer install or replace your flashings. They can properly size, secure and seal the flashings to your roof. If doing it yourself, carefully follow the instructions to ensure maximum durability and leak prevention.
By diligently sealing up any cracks or holes and installing high-quality flashings, you’ll breathe new life into your tile roof and enjoy a dry attic and peace of mind. Make leak prevention a priority and your roof will reward you with many more years of faithful service.
Cleaning and Maintaining Your Tile Roof
To keep your tile roof looking its best and prevent leaks or damage, regular cleaning and maintenance are key.
Inspect and Remove Debris
Make a habit of inspecting your roof tiles at least twice a year, in spring and fall. Look for any debris like leaves, sticks or trash that may have collected in valleys, gutters and vents. Clear these away as clogged gutters or drains can lead to water damage. You should also check that all tiles are secure and intact, and repair or replace any that are cracked, broken or missing.
Clean Tiles and Gutters
Build-up of algae, moss, lichen or dirt on your tiles and in gutters can be removed without harsh chemicals. Use a soft wash system with a low-pressure, high-volume pump to gently lift away grime. For stubborn stains, an eco-friendly fungicide or algaecide may be needed. Avoid pressure washers which can damage tiles. Clean out your gutters at the same time to allow for proper water flow off the roof.
Re-seal and Re-point
The pointed mortar between ridge capping and hip tiles, as well as in tile joins can become damaged or worn over time. Re-pointing or re-sealing these areas helps prevent leaks and also improves the look of your roof. Seek a professional roofer to inspect and repair or replace pointing and seals.
Professional Inspections
For the best care of your tile roof, schedule professional inspections by a licensed roofer every 3 to 5 years. They can spot any problem areas, assess damage or deterioration and perform necessary repairs to maximise the lifespan of your roof. Annual gutter cleaning and minor maintenance in between professional visits will help keep your tile roof in top shape.
With some regular time and effort devoted to cleaning, inspections and repairs, your tile roof can provide many years of protection and add value to your home. Stay on top of any issues to avoid costly damage down the road.
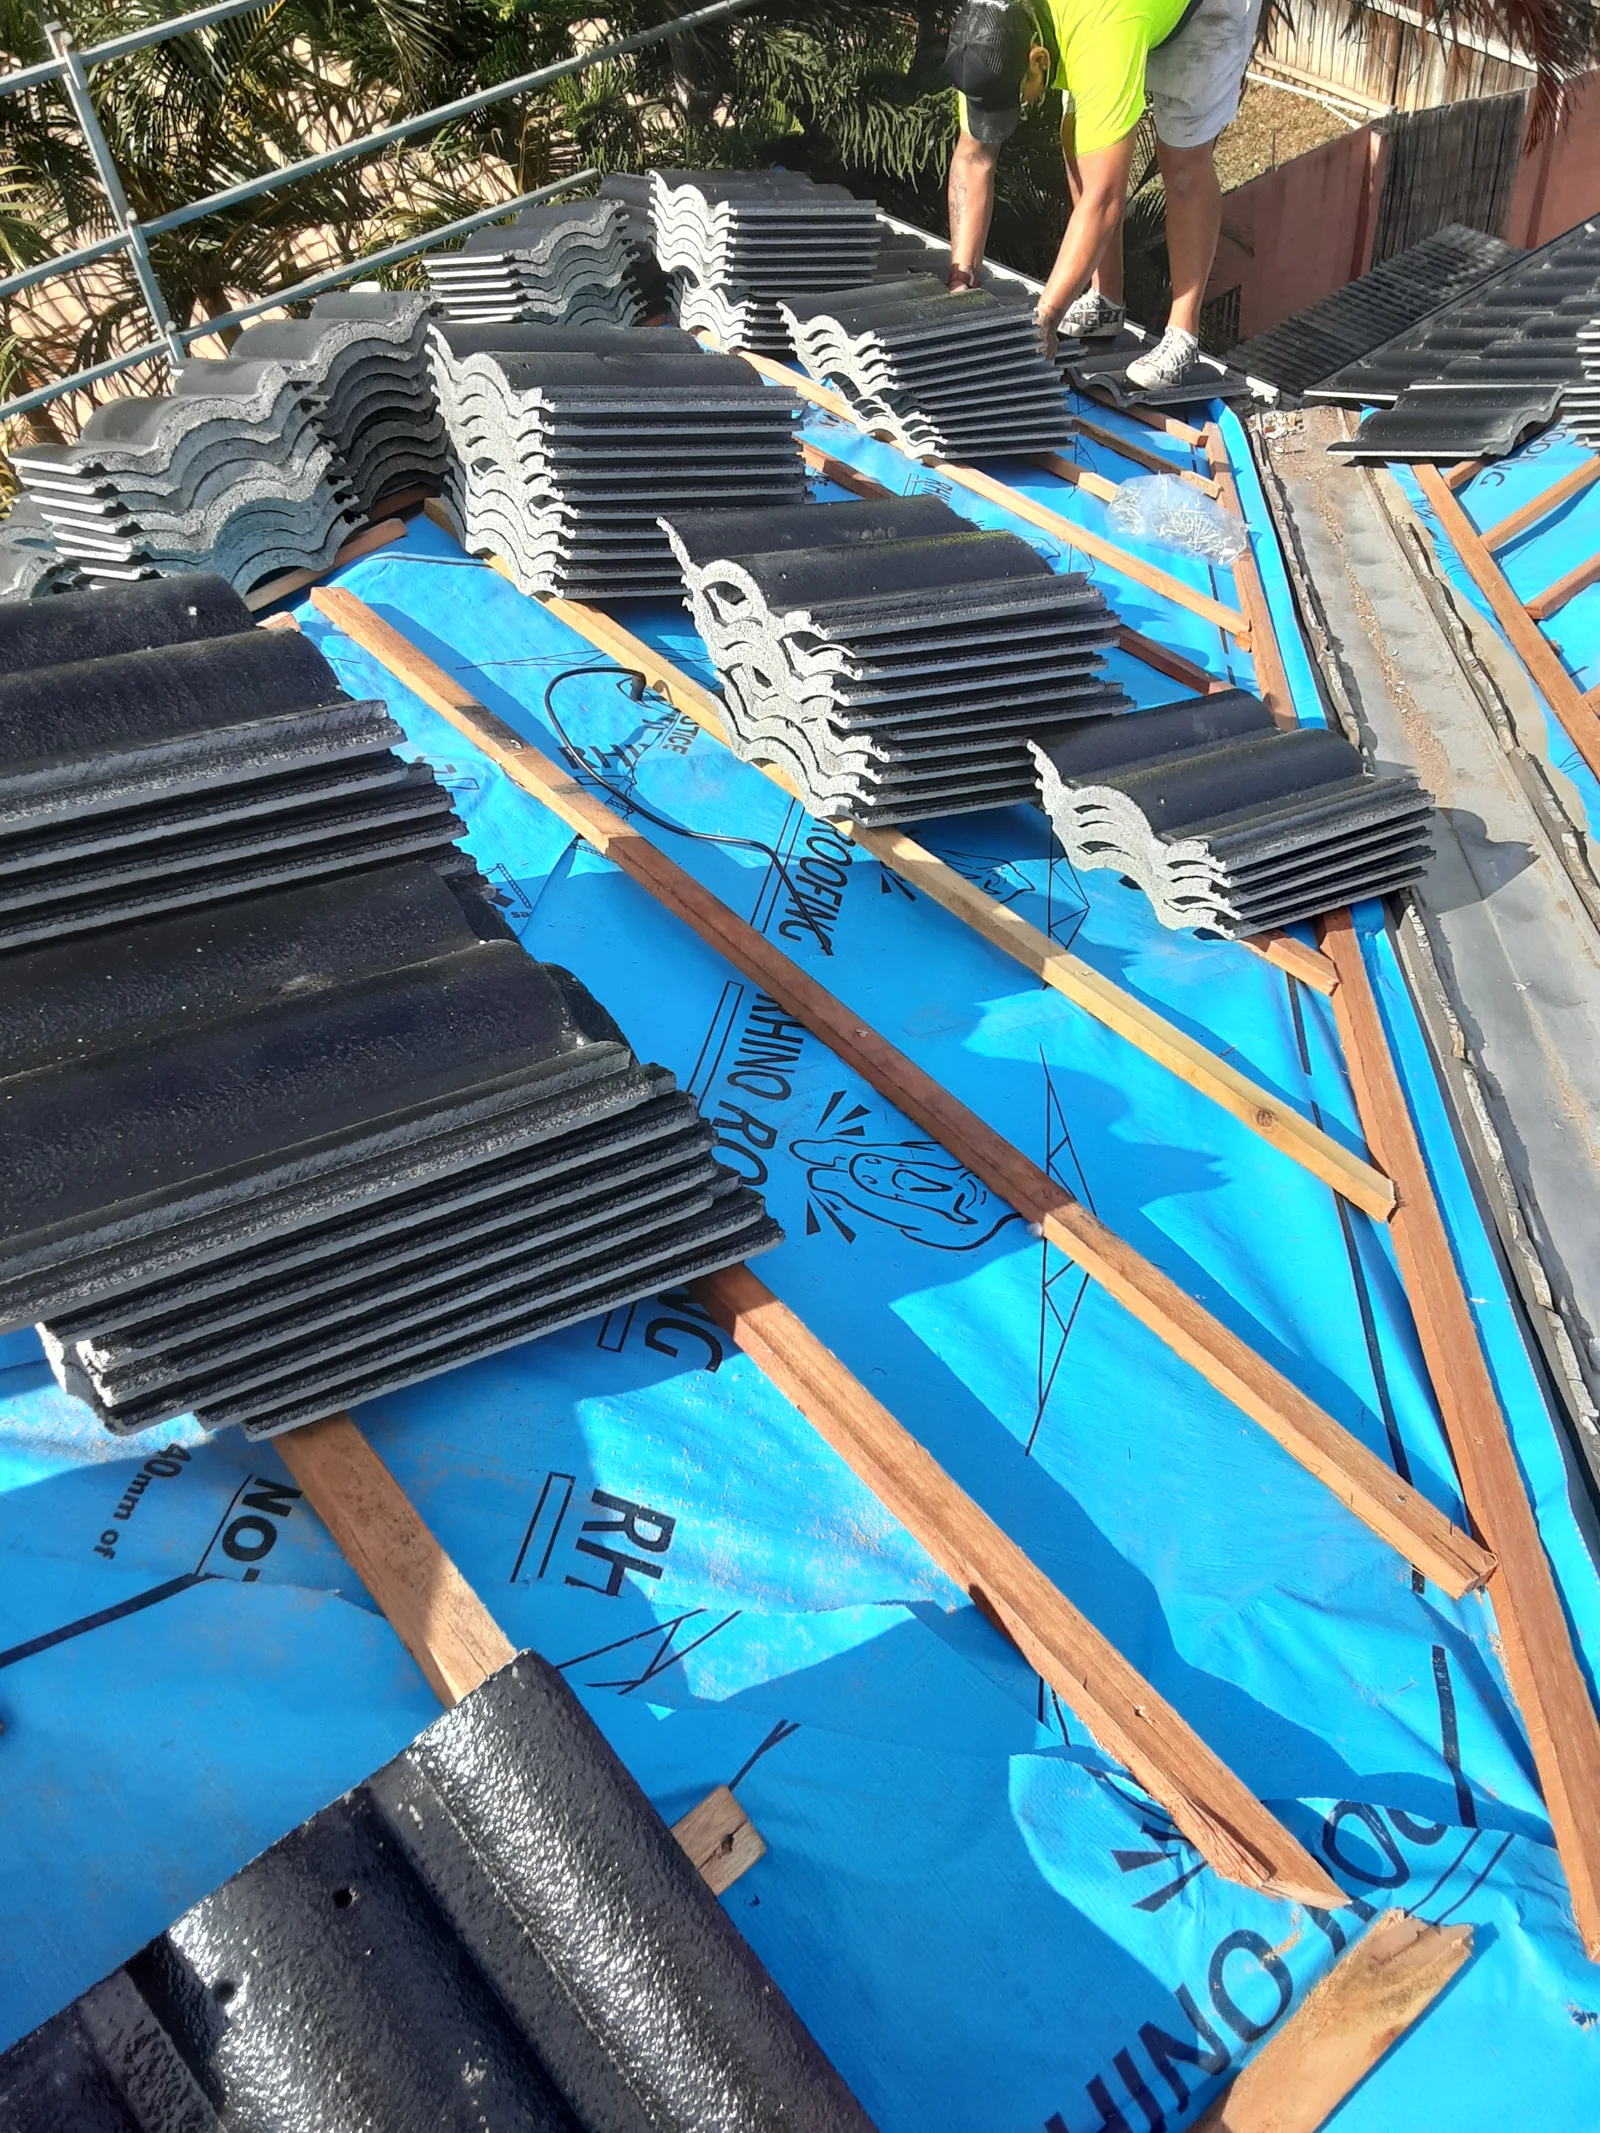
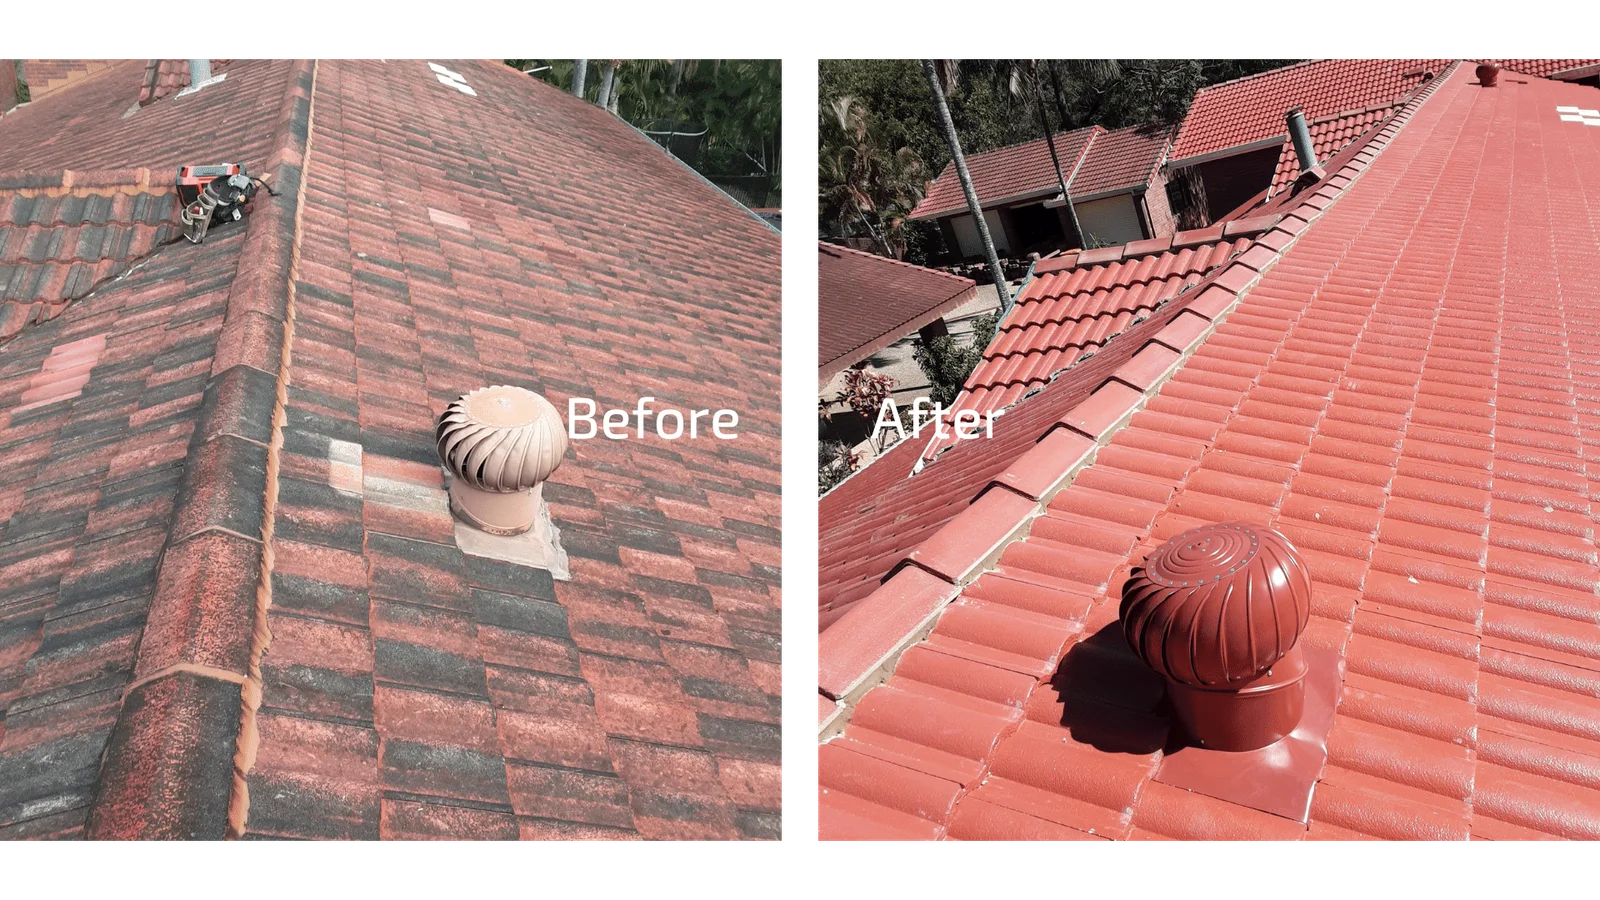
Tile Roof Restoration – Our 5-Step Process
Restoring a tile roof typically involves five essential steps to bring it back to peak condition. Our experienced roofing technicians will evaluate the current state of your tile roof and recommend the necessary solutions to resolve any issues, repair damage, and refresh your roof so it looks as good as new.
Roof Inspection and Assessment
First, we thoroughly inspect your tiled roof to identify any problem areas like broken, loose or missing tiles, leaks, cracks, rust or water damage. We assess what repairs, cleaning or replacement tiles may be needed to restore your roof.
Roof Repair
If the inspection reveals any necessary repairs, we will replace or repair damaged tiles and address any leaks or structural issues before moving on to cleaning and restoration. Fixing problems first helps ensure maximum effectiveness of the restoration process.
Pressure Wash
Once repairs are complete, we pressure wash your entire tile roof to remove dirt, grime, mould and debris buildup. Pressure washing opens up pores in the tiles and provides a clean slate for treatments and primers to absorb fully.
Preparation and Treatment
After pressure washing, the roof is prepared to receive protective treatments like tile sealers or acrylic/polymer coatings. Any remaining cracks or holes are filled and the entire roof is coated with a primer that penetrates the tile surface.
Final Assessment
We conduct a final inspection to ensure your tile roof restoration meets our high standards. Your roof should now be waterproof, protected from the elements, and look refreshed for many years to come. Regular maintenance like re-coating and minor repairs will keep it in great shape.
Restoring tile roofs requires expertise, the proper techniques and high quality products to achieve professional results and long-lasting protection for your roof. Our 5-step restoration process has been perfected over 30+ years to renew and rejuvenate tile roofs across Queensland.
Conclusion
So there you have it – the most common tile roof problems and how to fix them. We get it, dealing with a leaky roof is super frustrating. But take a deep breath, roll up your sleeves, and tackle those pesky leaks and cracks one step at a time. Start by checking for damaged or missing tiles and go from there. And remember, you’ve got this! If things get too tricky, don’t hesitate to call in the experts at Storm Call. With some elbow grease and TLC, you can get your tile roof back in tip-top shape in no time. Just take it one tile at a time and you’ll be admiring your restored roof before you know it. Now get out there and give your roof the care it deserves!